Tools needed: size H hook, yarn needle, scissors
Yarn needed: five colors of medium weight (4) yarn (A, B, C, D, E)
Skills needed: chain,
double crochet, slip stitch
Notes: Using the same pattern as yesterday, change colors of yarn at the end of each round. You'll fasten off at the end of each round, then use a slip stitch to attach a new color each time. As always, feel free to e-mail me at crochetwithanna@gmail.com if you have any questions or concerns. And don't forget to send me pictures of your completed square!
Abbreviations:
ch= chain
dc= double crochet
sl st= slip stitch
Decide which color is A, B, C, D, and E. Sometimes it helps to write it down!
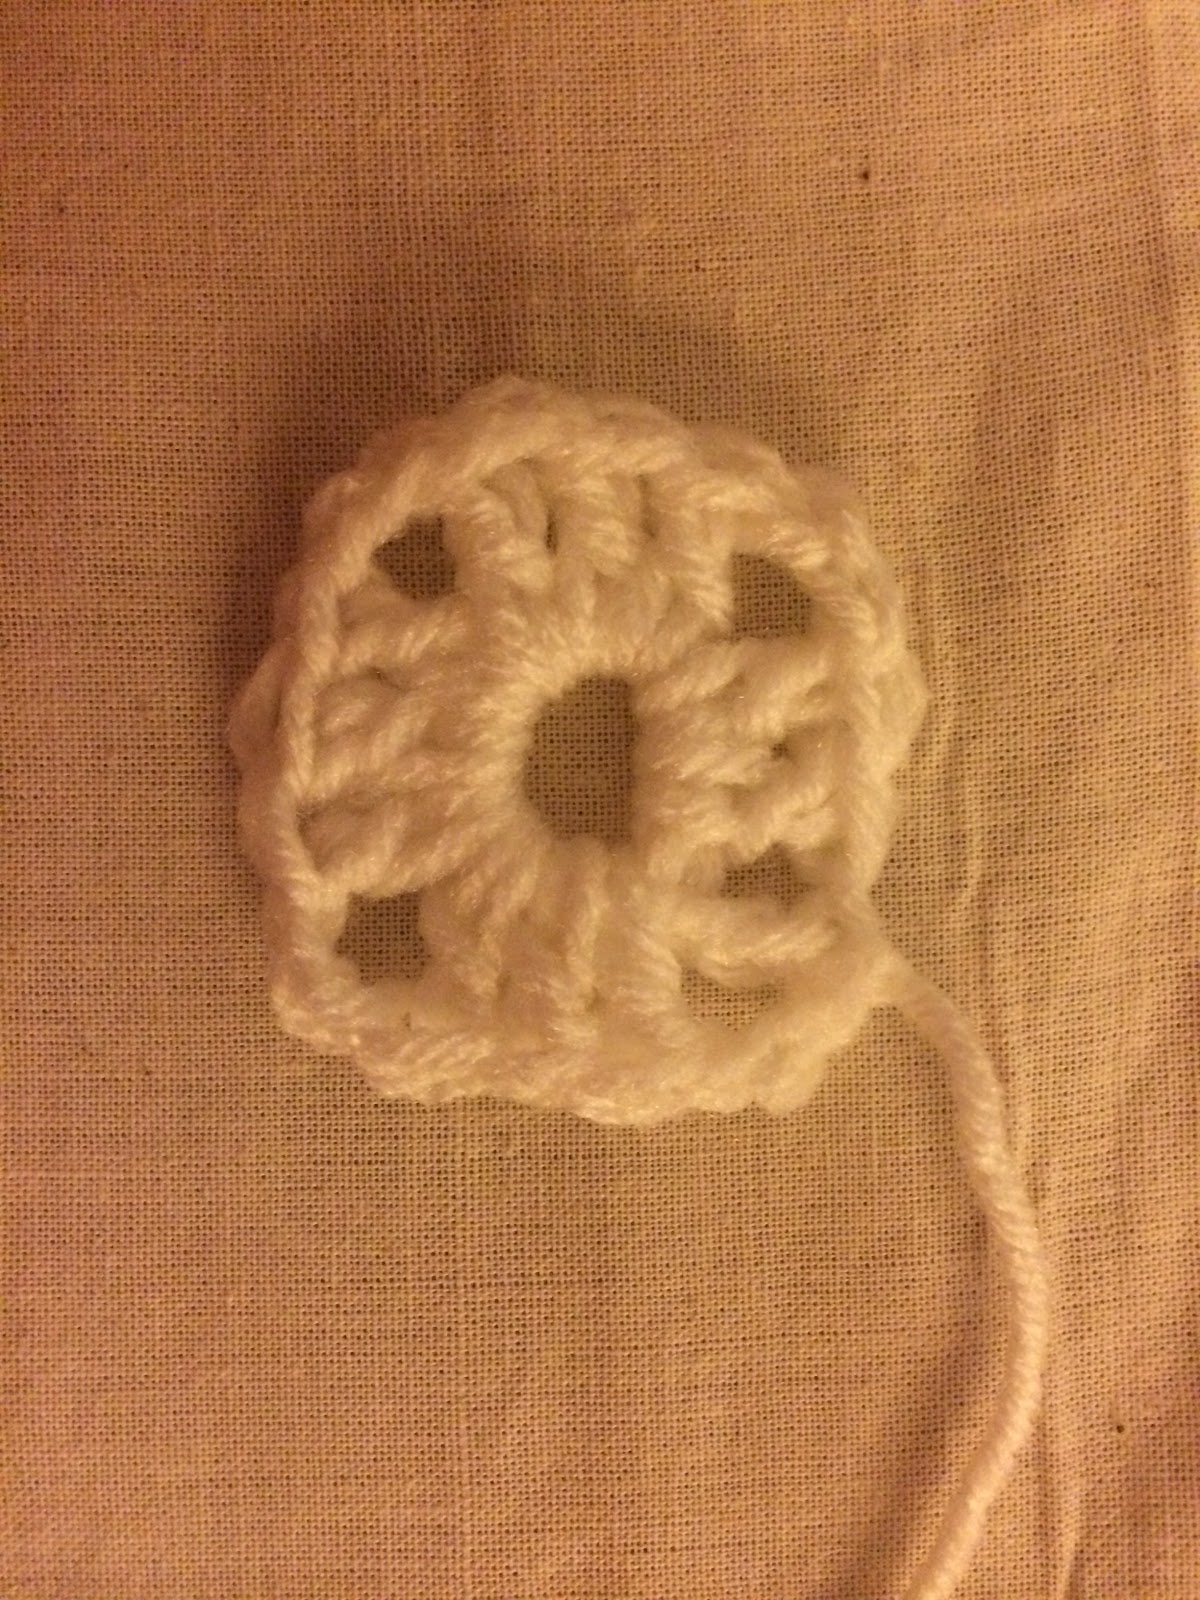
Using A, ch 4. Join to last ch with sl st.
Row 1: Ch 3. 2 dc into ring. Ch 2. 3 dc into ring. Ch 2. 3 dc into ring. Ch 2. 3 dc into ring. Join to top of ch 3 with sl st. Fasten off.
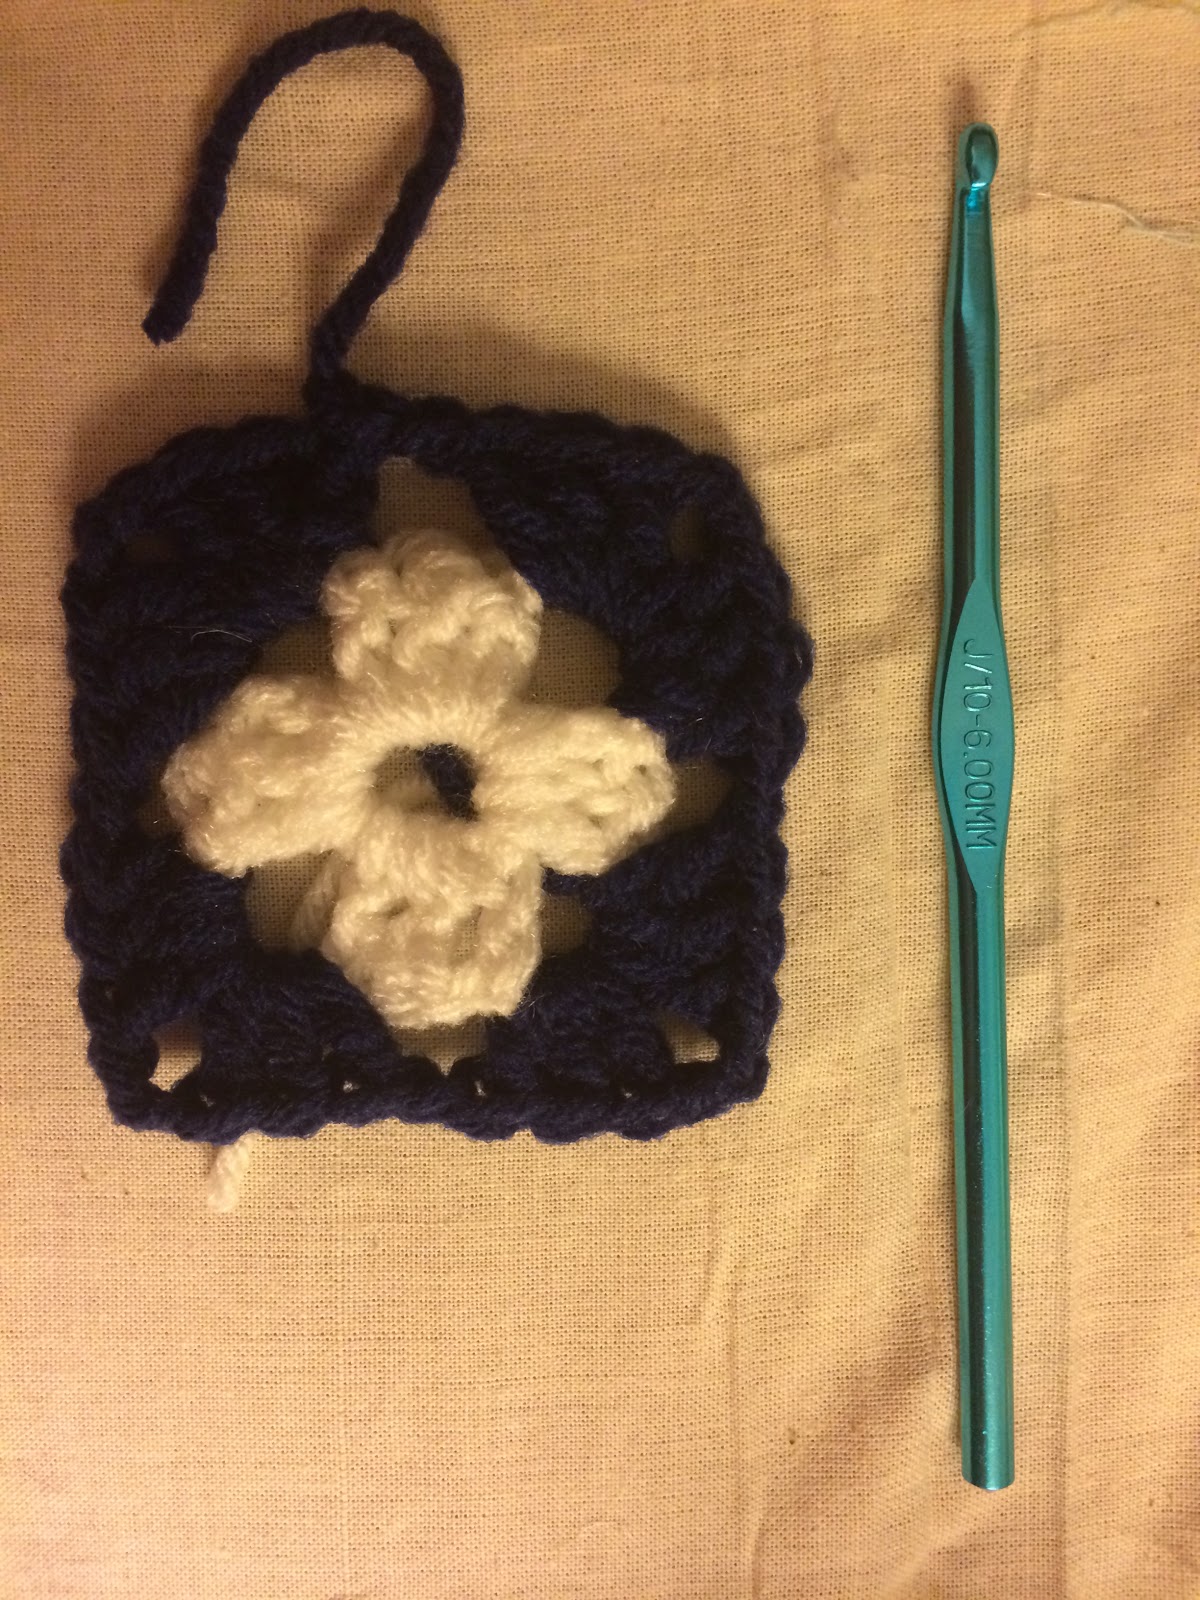
Row 2: Join B with sl st in any ch 2 space. Ch 3. 2 dc into ch 2 space. Ch 2. 3 dc into same ch 2 space. Ch 1. 3 dc into next ch 2 space. Ch 2. 3 dc into same ch 2 space. Ch 1. 3 dc into next ch 2 space. Ch 2. 3 dc into same ch 2 space. Ch 1. 3 dc into next ch 2 space. Ch 2. 3 dc into same ch 2 space. Join to top of ch with sl st. Fasten off.
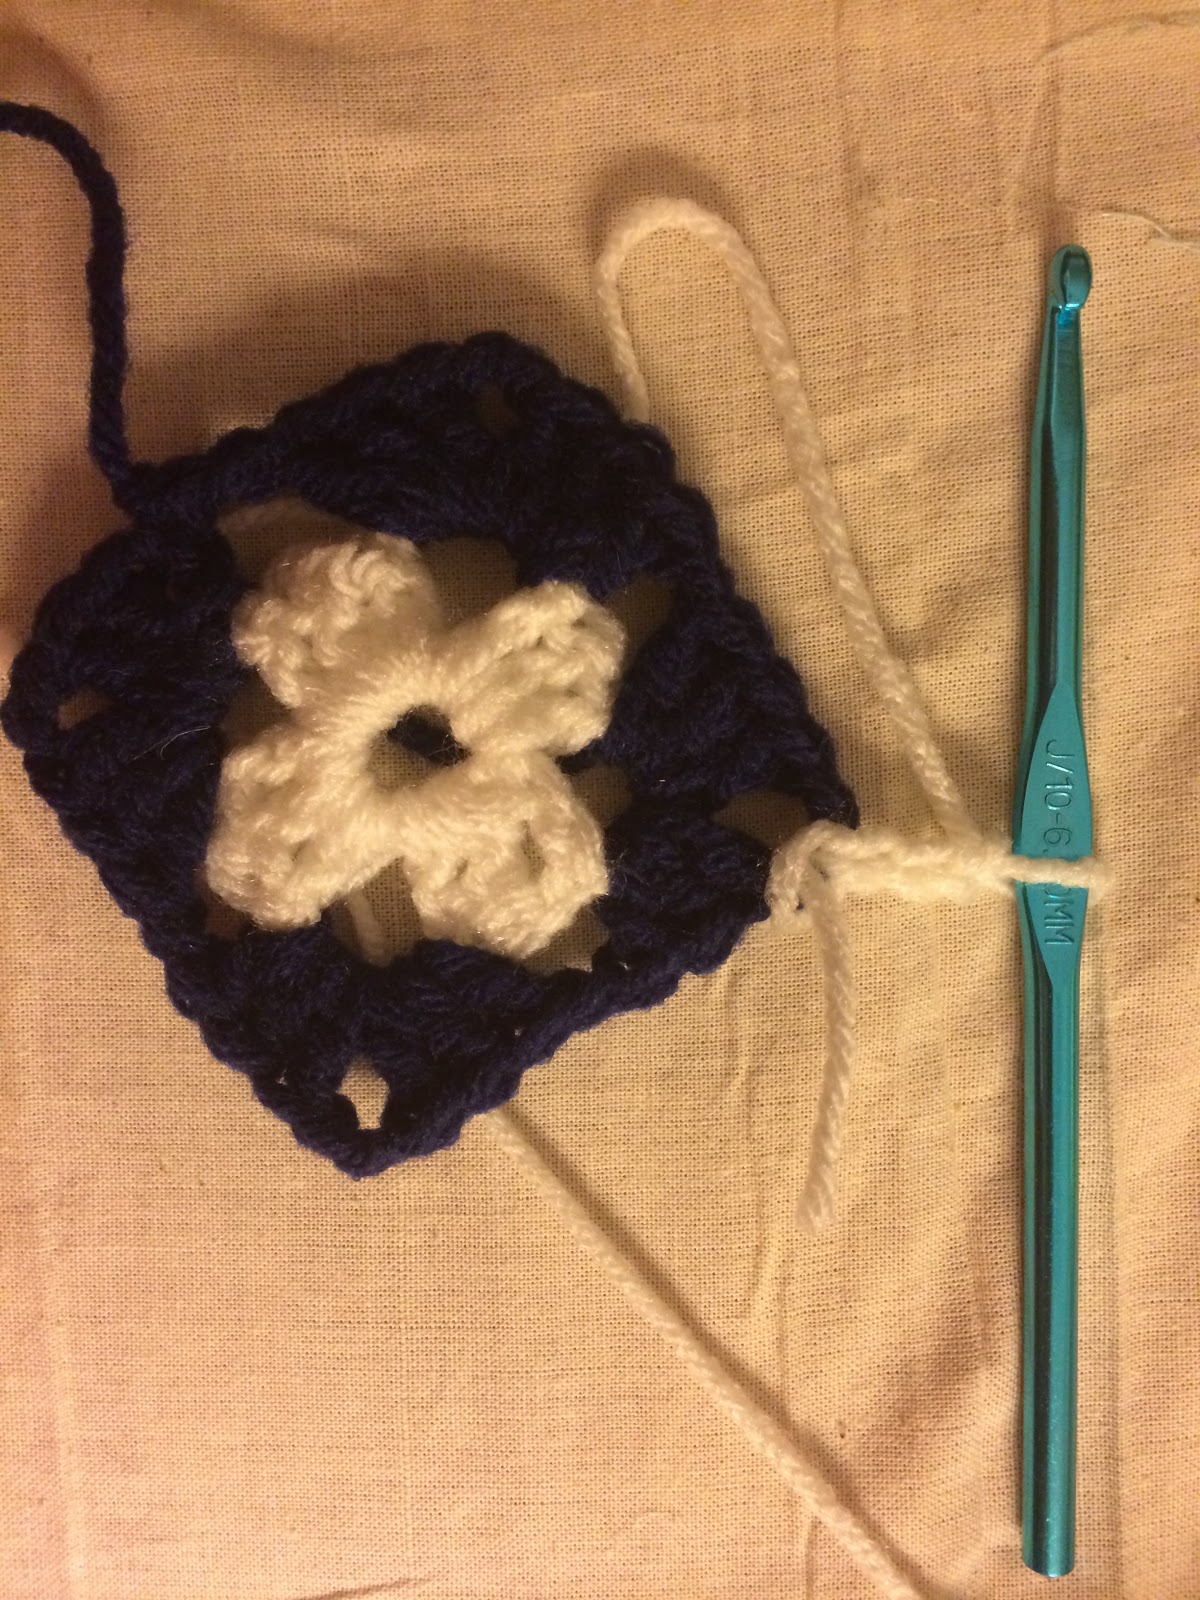
Row 3: Join C with sl st in any ch 2 space. Ch 3. 2 dc into ch 2 space. Ch 2. 3 dc into same ch 2 space. Ch 1. 3 dc into next ch 1 space. Ch 1. 3 dc into next ch 2 space. Ch 2. 3 dc into same ch 2 space. Ch 1. 3 dc into next ch 1 space. Ch 1. 3 dc into next ch 2 space. Ch 2. 3 dc into same ch 2 space. Ch 1. 3 dc into next ch 1 space. Ch 1. 3 dc into next ch 2 space. Ch 2. 3 dc into same ch 2 space. Join to top of ch with sl st. Fasten off.
Row 4: Join D with sl st in any ch 2 space. Ch 3. 2 dc into ch 2 space. Ch 2. 3 dc into same ch 2 space. Ch 1. 3 dc into next ch 1 space. Ch 1. 3 dc into next ch 1 space. Ch 1. 3 dc into next ch 2 space. Ch 2. 3 dc into same ch 2 space. Ch 1. 3 dc into next ch 1 space. Ch 1. 3 dc into next ch 1 space. Ch 1. 3 dc into next ch 2 space. Ch 2. 3 dc into same ch 2 space. Ch 1. 3 dc into next ch 1 space. Ch 1. 3 dc into next ch 1 space. Ch 1. 3 dc into next ch 2 space. Ch 2. 3 dc into same ch 2 space. Join to top of ch with sl st. Fasten off.
Row 5: Join E with sl st in any ch 2 space. Ch 3. 2 dc into ch 2 space. Ch 2. 3 dc into same ch 2 space. Ch 1. 3 dc into next ch 1 space. Ch 1. 3 dc into next ch 1 space. Ch 1. 3 dc into next ch 1 space. Ch 1. 3 dc into next ch 2 space. Ch 2. 3 dc into same ch 2 space. Ch 1. 3 dc into next ch 1 space. Ch 1. 3 dc into next ch 1 space. Ch 1. 3 dc into next ch 1 space. Ch 1. 3 dc into next ch 2 space. Ch 2. 3 dc into same ch 2 space. Ch 1. 3 dc into next ch 1 space. Ch 1. 3 dc into next ch 1 space. Ch 1. 3 dc into next ch 1 space. Ch 1. 3 dc into next ch 2 space. Ch 2. 3 dc into same ch 2 space. Join to top of ch with sl st. Fasten off.
Weave in ends.